How Does a Dentist Perform a Root Canal? A Detailed Step-by-Step Guide
Table of Contents
- Recognizing the Need
- Treatment Planning & Anesthesia
- Isolating the Tooth
- Step 1: Creating the Access Opening
- Step 2: Removing Infected Pulp Tissue (Pulpectomy)
- Step 3: Cleaning and Shaping the Root Canals
- Step 4: Sealing the Canals (Obturation)
- Step 5: Sealing the Access Opening
- Post-Procedure Discomfort & Management
- The Final Restoration (Often a Crown)
- Aftercare & Follow-Up
- Is a Root Canal Painful?
- How Long Does a Root Canal Take?
- Success Rates and Longevity
- General Dentist vs. Endodontist
- Alternatives to Root Canal
Introduction: Demystifying the Root Canal
When I first heard the words “root canal,” I have to admit I felt pretty nervous. Like a lot of people, I pictured sharp tools, a really long time in the dentist chair, and honestly, a lot of pain. But after getting the treatment myself (and seeing it as I learned more about teeth), I was really surprised. Root canals aren’t scary at all—they’re a modern way to save your tooth.
A root canal is basically when a dentist takes out the bad or swollen pulp (the soft part inside your tooth), cleans out the inside, and seals the tooth back up so you don’t have more problems later. Why do this? If the pulp (that’s the part with nerves and tiny blood vessels) gets infected—maybe from a deep cavity, a hit to your tooth, or a big crack—it can hurt a lot and swell up. It won’t just go away by itself. The infection could make a pocket of pus or you might even lose your tooth.
I’ve seen how a root canal can turn an aching, hurting tooth back into a healthy, working one. In this guide, I’ll explain what happens before, during, and after a root canal, along with tips, facts, and things you should know before it’s your turn in the dental chair.
Before the Procedure: Diagnosis and Preparation
Recognizing the Need
No one wakes up and thinks, “Hope I need a root canal today!” Most of us start by feeling sharp pain from hot or cold food, a lasting pain in one spot, swelling, or seeing pus near your gums. These are all signs you want to get checked out fast.
When I noticed these problems, my dentist first looked closely at the tooth. He gently pressed and tapped it, and checked if cold or heat hurt for a long time. Next came the X-ray. X-rays look for deep decay, bone changes, or pus. If it’s still not clear, sometimes they see if your tooth nerve is still alive with cold stuff or a little zap of electricity. It feels weird but doesn’t hurt.
Treatment Planning & Anesthesia
After my dentist knew I needed a root canal, he went over the plan and answered my questions—like “Will it hurt?” or “How long will it take?”—and told me about what happens after.
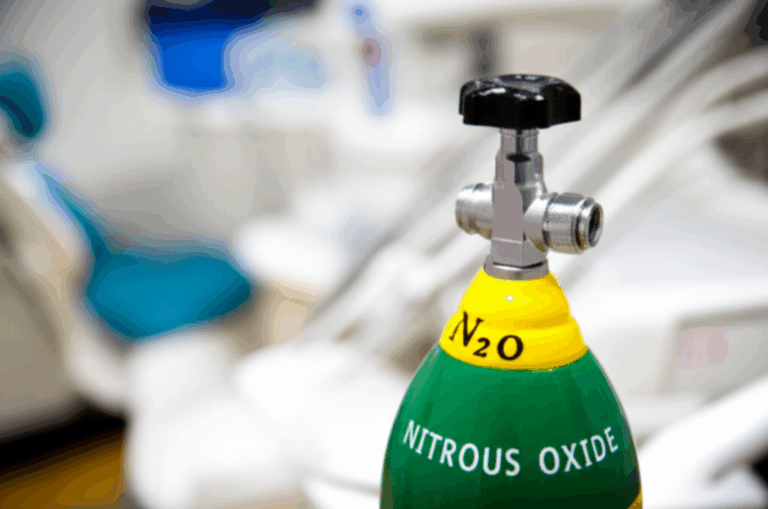
First, the dentist made sure I couldn’t feel anything. A shot of numbing stuff—usually lidocaine—made the tooth and gum around it go numb. The sting of the needle is the worst part, and it’s over really quick. If you get super nervous at the dentist, you can ask for laughing gas or a chill-out pill to make it easier.
Isolating the Tooth
Next, the dentist put a small, blue rubber sheet called a dental dam over my tooth. At first, it felt strange, but it keeps the tooth dry and clean—no spit or germs getting in the way. This little thing really helps a lot.
The Root Canal Procedure: Step-by-Step Breakdown
This is where the real work—and the truth about root canals—comes in.
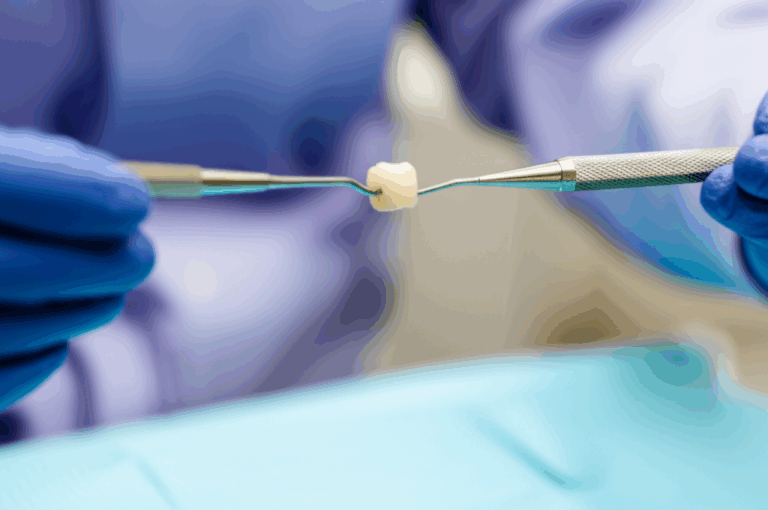
Step 1: Creating the Access Opening
The dentist uses a little drill to make a hole in the top of the tooth. This “doorway” lets the dentist get right to the soft middle part and the little tubes (canals) inside.
Thanks to the numbing, I just heard the drill noise and felt a little shake—no pain at all. The dentist tries to take away as little of my tooth as possible.
Step 2: Removing Infected Pulp Tissue (Pulpectomy)
Now, with the tooth open, it’s time to clear out the bad stuff. The dentist uses tiny, bendy tools called files to pull out the dead or infected pulp. There are simple files you use by hand or ones that spin with a machine. The dentist gently slides them in and out until the whole inside is clean.
All this work matters because if the bad tissue stays, you just keep hurting or get sick again later. Some people find this part relaxing—mostly you might hear soft scraping but you shouldn’t feel much.
Step 3: Cleaning and Shaping the Root Canals
Now the dentist wants the inside totally clean and germ-free. The dentist uses the files more and flushes the space with cleaning liquids—like strong bleach water (sodium hypochlorite) and another cleaner called EDTA. High-tech tools, like a microscope to see super small details and a little electronic ruler to measure the canal length, make it all very exact.
But don’t worry—it’s very safe and the stuff they use is standard for teeth.
Step 4: Sealing the Canals (Obturation)
After cleaning, the dentist seals up the inside to block germs. For this, they press in gutta-percha, a soft, safe rubber stuff, and sometimes a sticky sealer to make sure no spots are missed.
This step keeps your tooth safe from new infections. My dentist explained each thing as he did it, so I never felt lost.
Step 5: Sealing the Access Opening
Last, the dentist covers the hole they made with either a temp or a final filling—usually a white tooth-colored material. This shields the tooth between visits, especially if you need a crown later.
Some root canals are done in one visit. Tougher teeth (like back molars) may need two, but the goal’s the same: get rid of the infection and keep your tooth safe.
After the Procedure: Restoration and Recovery
Post-Procedure Discomfort & Management
When the numbness fades, you might have a bit of soreness. For me, it felt okay—nothing like before the root canal. Taking normal painkillers like ibuprofen is usually good enough. Rarely, if there’s swelling or an infection won’t stop, you may get antibiotics. Just listen to your dentist and call if something feels wrong.
The Final Restoration (Often a Crown)
A tooth with a root canal is like a fixed-up house—you want a good roof. Especially for back teeth (where you chew a lot), your dentist will usually put on a crown to keep it strong and stop it from cracking. Sometimes you’ll have a short-term filling first, and a week or two later you’ll come back for the real crown, when the tooth is all healed.
These days, crowns come in all kinds of materials—ceramic, porcelain with metal, zirconia. My dentist walked me through which matched my smile and felt best for me. You can find out more about crowns and how they’re made at a crown and bridge lab.
Aftercare & Follow-Up
After your root canal, take it easy on that tooth awhile—don’t bite down on tough, sticky, or chewy stuff. I liked chewing on the other side the first days. Keeping your teeth clean by brushing and flossing (gently!), and going to check-ups, help your tooth last. My dentist made me a follow-up visit to check healing and put on the final crown. Regular check-ups are the best way to make sure everything stays healthy.
Important Considerations & FAQs
Is a Root Canal Painful?
Everyone wants to know this. From what I’ve felt and what dentists say, modern root canals don’t hurt much. The numbing shot works really well, and after it’s over most people feel just a little sore, like getting a filling.
How Long Does a Root Canal Take?
If it’s a front tooth, it can take only 30–60 minutes. For back teeth or hard cases, it could be 90 minutes or maybe need a second visit. It depends how tricky the canals are or if the infection is deep. Dentists work fast but never hurry—cleaning well is most important.
Success Rates and Longevity
Root canals work most of the time—about 90% or more. If you brush, floss, and get that crown when you need to, your fixed tooth can last your whole life. Sometimes you may need to redo the root canal if it gets infected again, but with new tools this doesn’t happen much.
General Dentist vs. Endodontist
What’s the difference? A general dentist can do most root canals, especially on simple teeth. But if your tooth is tough (twists, or needs fixing again), a specialist called an endodontist has even more training and special tools. Don’t worry about asking to see a specialist if you want to.
Alternatives to Root Canal
What if you don’t want one? The main other choice is pulling the tooth and maybe getting an implant or a bridge later. Most experts think keeping your own real tooth is best for chewing and your mouth, if you can. Implants and bridges work, but nothing is quite like the teeth you’re born with. If you want to know more about advanced dental options, you can check out info about a china dental lab for modern restorations.
Conclusion: Saving Your Natural Smile
Thinking back, a root canal was nothing like the scary things I’d heard. Instead, it was careful work that saved my tooth and stopped the pain. It really showed me how much dental care has improved and why root canals are still so important for keeping teeth.
If you’re facing a root canal, remember—dentists now have the best tools and know-how to do this safely and with almost no pain. By listening to your dentist, getting the crown you need, and keeping up with daily brushing and check-ups, your smile will stay healthy for a long time.
Got more questions or want to look at cool dental tech? Take a look at digital dental labs to see how new dental solutions are made. Or learn about crown options or how ceramics help fix teeth with a dental ceramics lab.
At the end of the day, a root canal isn’t something to fear—it’s all about getting out of pain, keeping your teeth, and feeling good about your smile. And that’s worth it.